My oldest daughter has been drawing quite passionately since our last lesson – she will sit at the table for an hour or more at a time with her sketch book and work away on her pictures. One day last week I invited her to join me with our books and a pile of Eric Carle books for inspiration. I even found myself having fun with it! One of the pictures we found inspiration in was this duck from Brown Bear, Brown Bear, What Do You See?
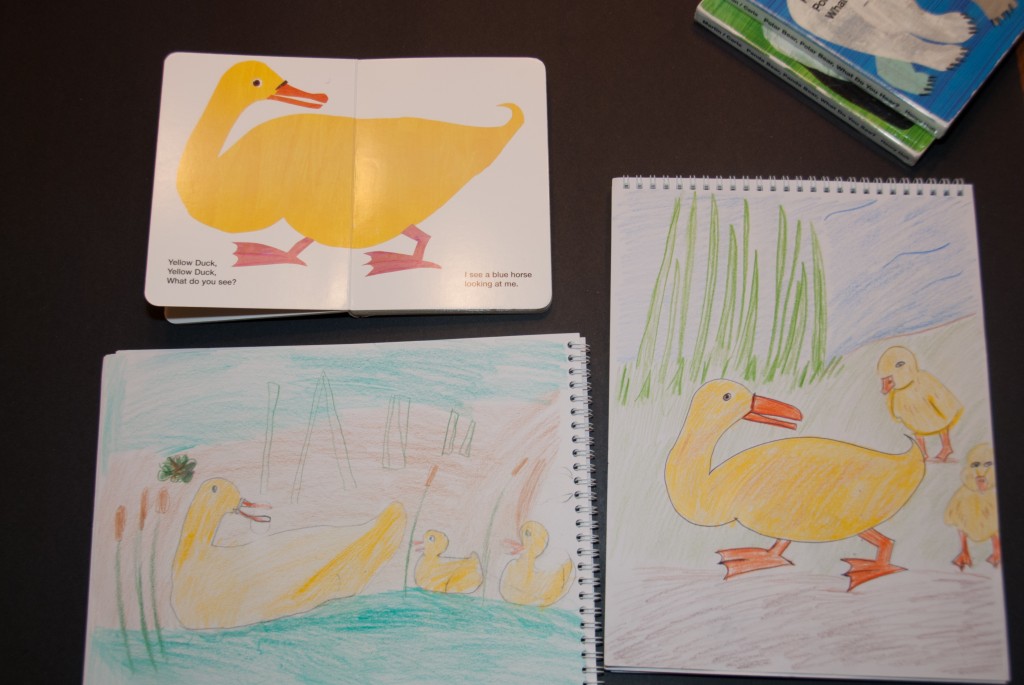 I love how Big Sister thought to add cattails to her picture, I wish I had thought of that! We both thought it looked like mama duck was looking over her shoulder at her babies so we drew in some ducklings.
This post contains affiliate links. Please see my disclosure policy for details.
Drawing From a Still Life
Next up for our lessons from Drawing With Children is Lesson 3: Drawing from a Still Life! I reviewed this chapter several times knowing that it was going to be a more difficult one. Although this lesson is for learning to draw from a still life, the author takes the reader through the lesson of drawing a picture of a still life. This is necessary because she walks you step by step through the process needs to be able to refer to specific, predetermined objects. After completing the lesson, we can make the transition to drawing real objects and constructing our own arrangements.
The photo of the still life is an arrangement of a teapot, vase, cup of kitchen utensils, and an abacus on a placemat. I decided we would only do Level 1, which is only the teapot and the vase. We discussed choosing where to start, placement and drew preliminary sketches before starting the lesson.
Like the previous lessons, step-by-step directions are given for drawing the objects. Big Sister had a much harder time with this lesson than the two previous. She made many mistakes (although the book discusses that there are no mistakes!) and we talked about how to adjust/cover them up. When the time came to add detail to her picture, and therefore incorporate some of the things she was displeased with into patterns etc. she had lost interest in her picture and wanted to be done. The next day, however, she was willing to give it another try and did a much better job of it. I think this week we might have some fun setting up our own arrangements from household objects and, now that it is spring, we should be able to get lots of practice in using our nature notebooks as well.
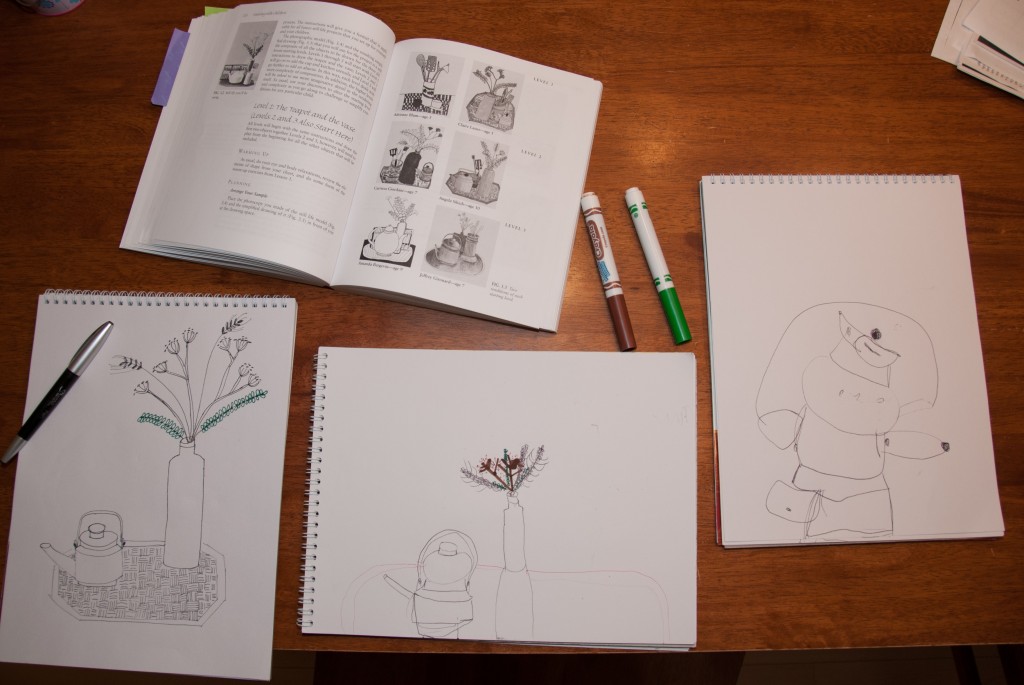
Mine, Big Sister’s and Little Sister’s first attempts at Lesson 3. Big Sister was not pleased with all with this attempt but happier with her second try the next day.
The next lesson will cover much more advanced concepts such as volume drawing, positive and negative space, and lighting. I think we will stop here though, it’s getting pretty tough and I think we will revisit this after we have had some time to practice (and mature!). Instead, we will go back and do the second level lessons for lessons 1-3 which should keep us busy for some time.
While the sample pictures of children’s work in the book is quite impressive, I do think it is a bit much to expect that a non-art experienced parent teaching their children at home will have similar results as those who have received the same instructions provided in formal lessons by a skilled artist. I really wish this book had more of the early level instructional lessons because this has been a lot of fun and I’d like to keep the momentum going!

This post is fourth in a series reviewing our experiences using Mona Brookes’ book Drawing With Children:
1. Drawing With (My) Children: Our Homeschool Experience Using the Monart Method
2. Drawing With (My) Children: Lesson 1
3. Drawing With (My) Children: Lesson 2


Hey – is this you, friend?!! Great blog!! I saw your pin on Pinterest about drawing with your children – something I’m so inept at – so I took a peek. GREAT looking blog! Wow!
Trace xx
Yes, it’s me! Thanks 🙂 So if you’re so inept at drawing, where did your little artist get his awesome skills?
Great job on the drawings! The duck pictures are so cute!
Thanks Karen! It feels so silly, but I’m really enjoying drawing. I don’t recall doing any drawing as a child, and I’m certainly not very skilled at it, but it’s really enjoyable and satisfying. It’s also a great way to spend time with the kids, without having to participate in their make-believe etc. which I find too tedious!
I don’t think it’s silly that you enjoy the drawing! The last several times I sat down to draw, I enjoyed it too! I think drawing and painting both can not only be educational but also be soothing to the soul.
Yes!
neat series to follow. 🙂 I need to get me a book like this one. 🙂
Check to see if you local library has it, or get it on interlibrary loan! 🙂
Great drawings! I have enjoyed working through that book with my kids as well!
Thanks Amy!
Thanks so much for linking up at Favorite things Friday! I love this post! We are really excited to do more art in our homeschool as well.
Check in on Friday to see if you were featured! And we hope to see you again at this weeks link up!
Thanks for hosting the link up Rebecca!